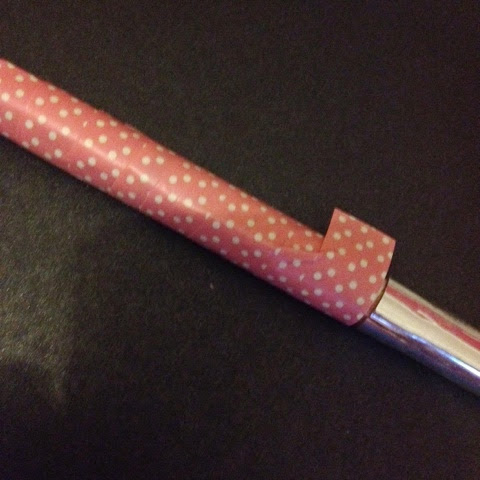
So recently I've fallen in love with a form of patterned paper tape known as "Washi Tape" (you've more than likely heard of it if you are as obsessed with YouTube as us)
This is a quick DIY tutorial which is both practical and fun! I think all of us makeup lovers have been in that situation when that "cute" and "useful" transparent container has seen better days- here's an easy way to revamp your old favourite lip gloss; or other makeup product, to make it more appealing to look at!
Equipment:
-Lip gloss (near the end of it's life)
-Washi Tape (obviously ;-D)
-Scissors (not essential)
-PVA glue (also not essential)
Method:
2| Starting from the bottom of the lip gloss, wrap the Washi Tape around horizontally, either tearing after each time the tape has gone once around, or wrapping at a slight angle.
3| Once at the top you could remove the lid and cover the lip gloss in PVA glue to create a "glossy" finish and protect the tape from tearing and water damaged. I skipped this step for the purpose of this tutorial.


No comments:
Post a Comment